


time for assembling everyting back! ![]()
i wrapped the LSD in rubber sheets and use the vise to get a good grip of it... the LSD is round which made it harder to grip hence me using the rubber sheets wrappings, while the open diff has flat face on 2 sides (which made it easier to grip) 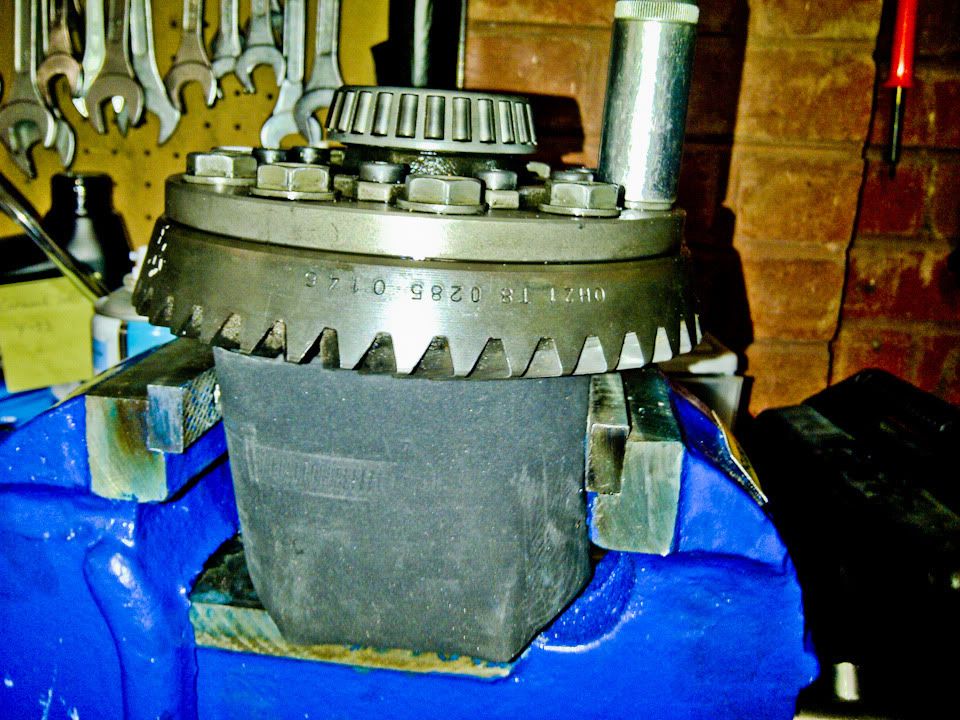
i tighten all up with star pattern with 60nm, not one next to the other... and then after they all tight, i unbolt one and put loctite on it 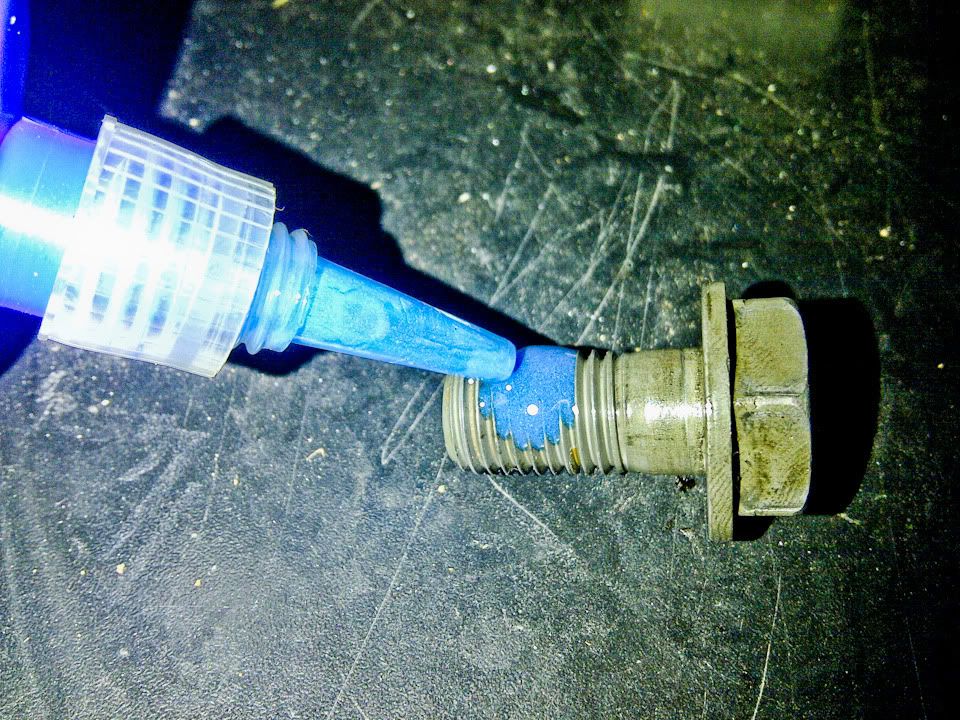
then i torque that bolt with 135nm, and move on to the bolt across it... and keep going until all 10 is torque up and applied loctite 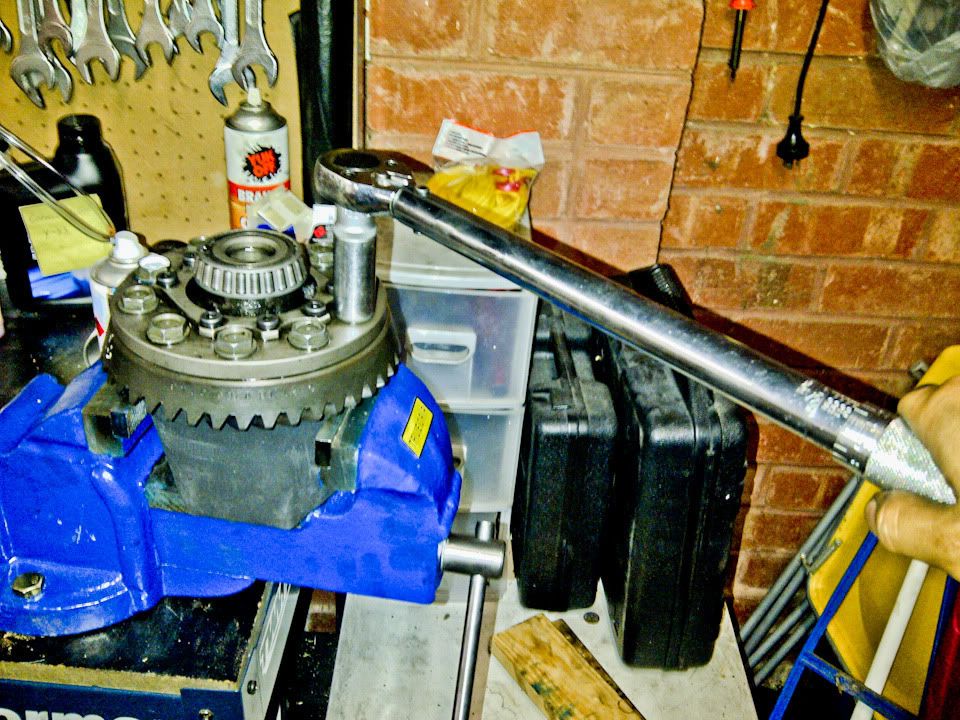
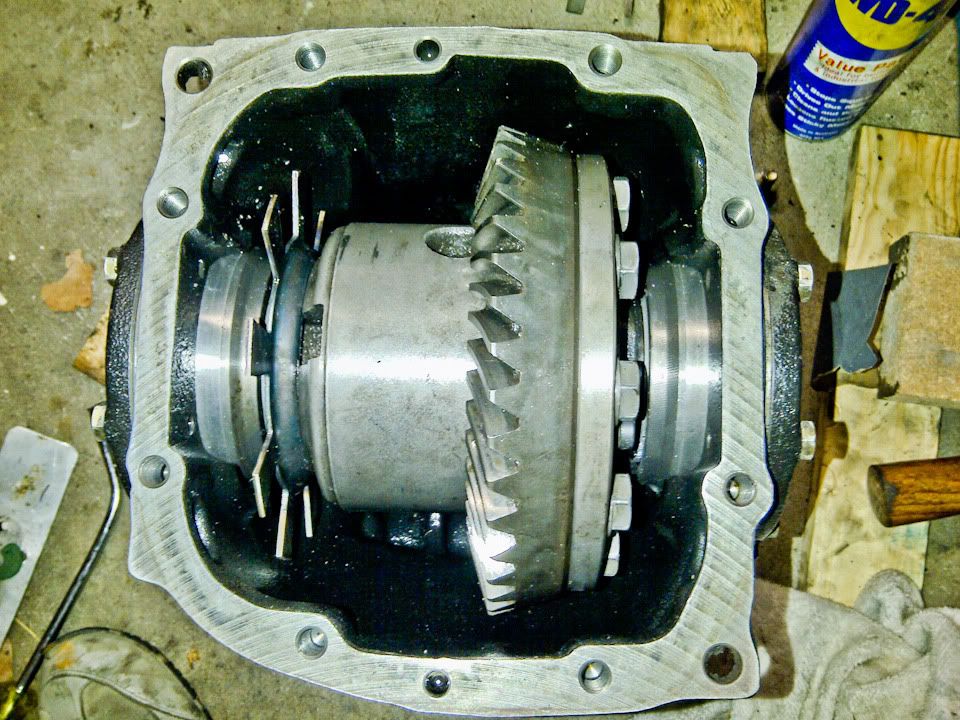
i use 2 wood to press both end of the speed ring and 3rd wood as a bridge, and hit the 3rd wood with mallet... this is because to fit the speed ring, it needed to be pressed into the lsd unit straight due to the tight fitment... 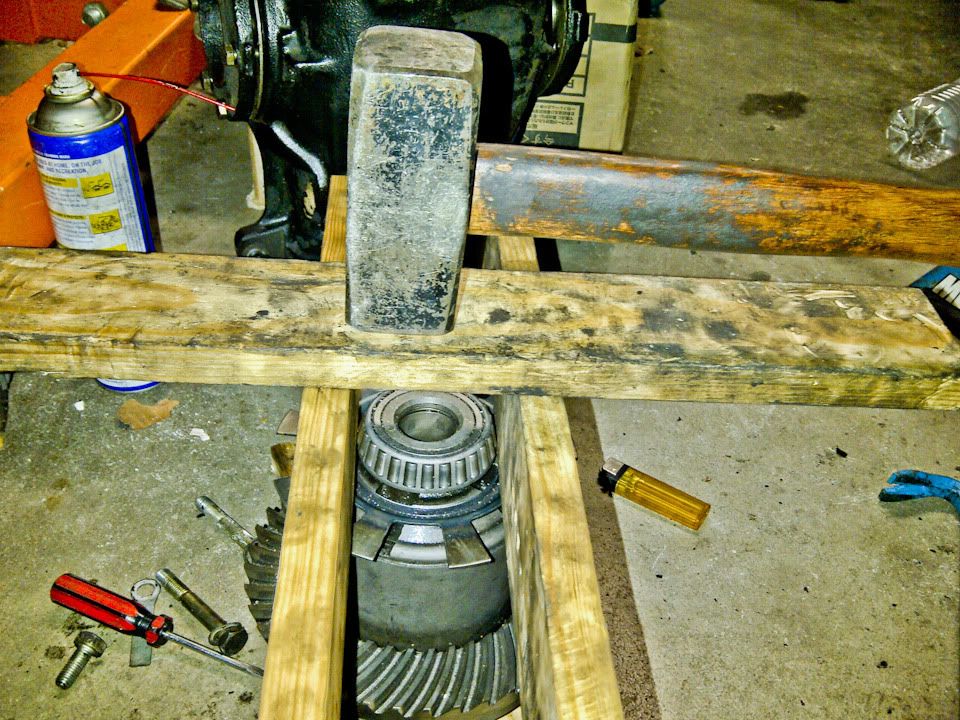
speed ring installed 


now put the pinion back into the housing and tighten the locking bolt with 175nm, (use the same method of loosening it to keep it from turning) and put back the locking plate in place... make sure the amount of the pinion protruding is the same with the one before you disassemble it... 
put a kink back on the locking plate using screw driver (i just pressed it) to stop it from turning or coming loose 
now the tricky part... i dont know how to do this properly but this is how i did it ![]()
i rested the LSD unit on top of the pinion and put both side cover panel back on, halfway... that way its still allow some movement of the LSD to adjust the position later, but still tight enough space to keep the LSD unit from falling or move out of place... 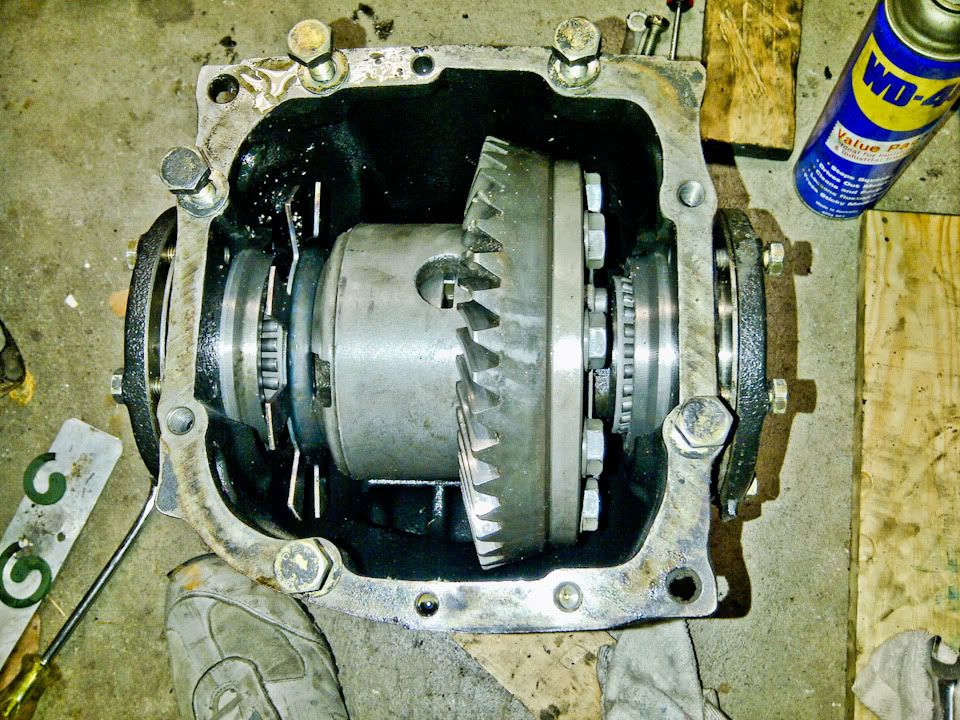
then slowly tighten both side cover and re adjusting the LSD position. keep doing that until the side cover finally flat with the Diff housing and the lsd sit nicely in its place... 

try rotating it and it shouldn't have any grinding noise from the pinion rubbing the LSD if you torque and measure the pinion distance properly...
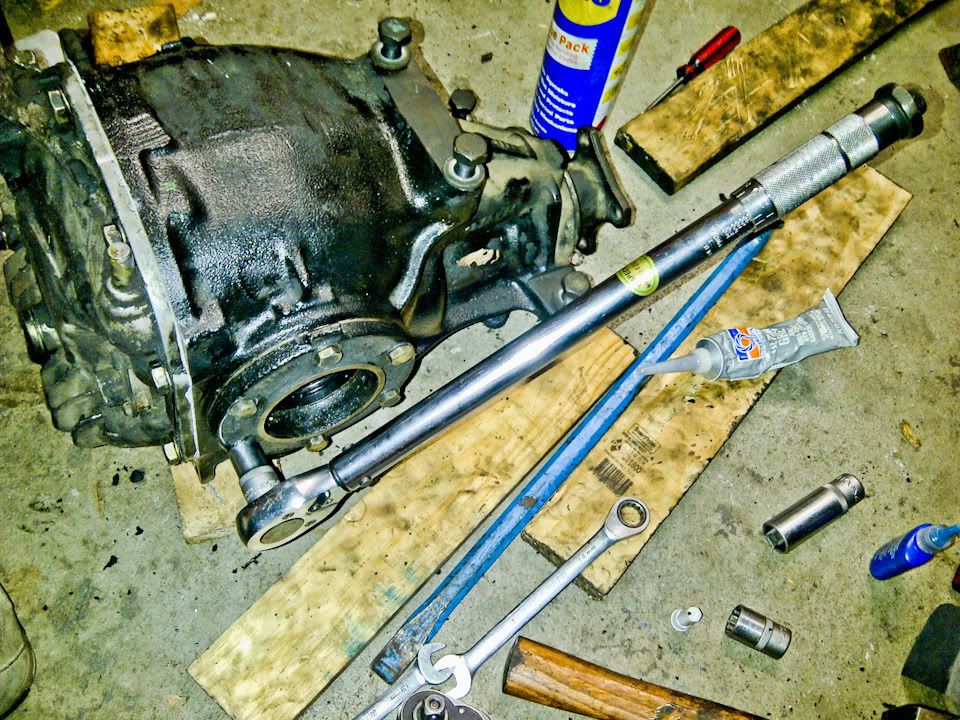
put loctite and torque all the side cover bolt 35Nm 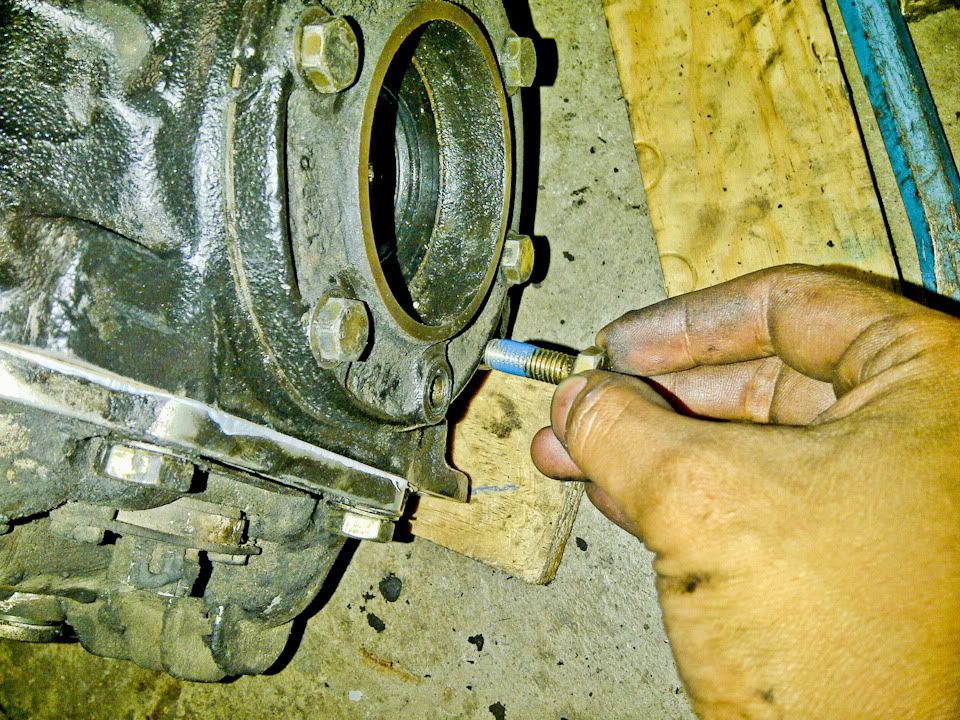
here is my stupid mistake... i forget to order new rubber seal for both side output shaft... hahahaha so this diff will leak like a pig... ![]() oh well... will re do all the seal on the next trip... in the mean time i will keep topping up the fluid hahaha
oh well... will re do all the seal on the next trip... in the mean time i will keep topping up the fluid hahaha
not the diff cover gasket. you only need the OEM paper gasket, but i am abit paranoid so i also add the gasket maker stuff... 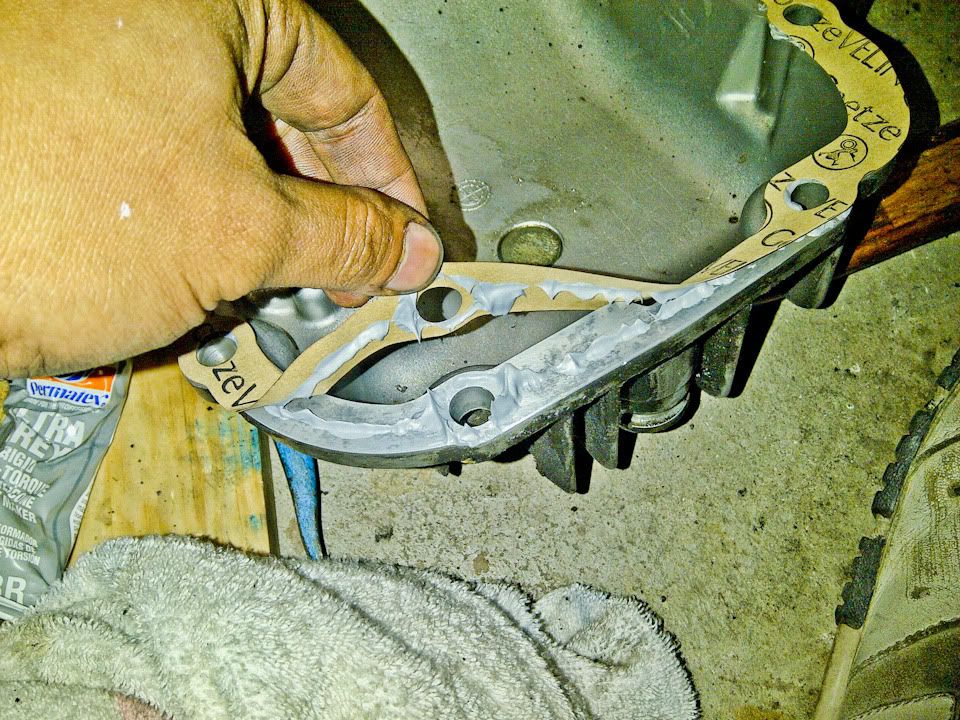
i hand tighten all the bolt cover and let the gasket glue thing settle and drid up abit before torque all the bolt up further 


same thing... loctite and torque the diff cover bolts one by one, star pattern too... 35nm 
put back both output flange 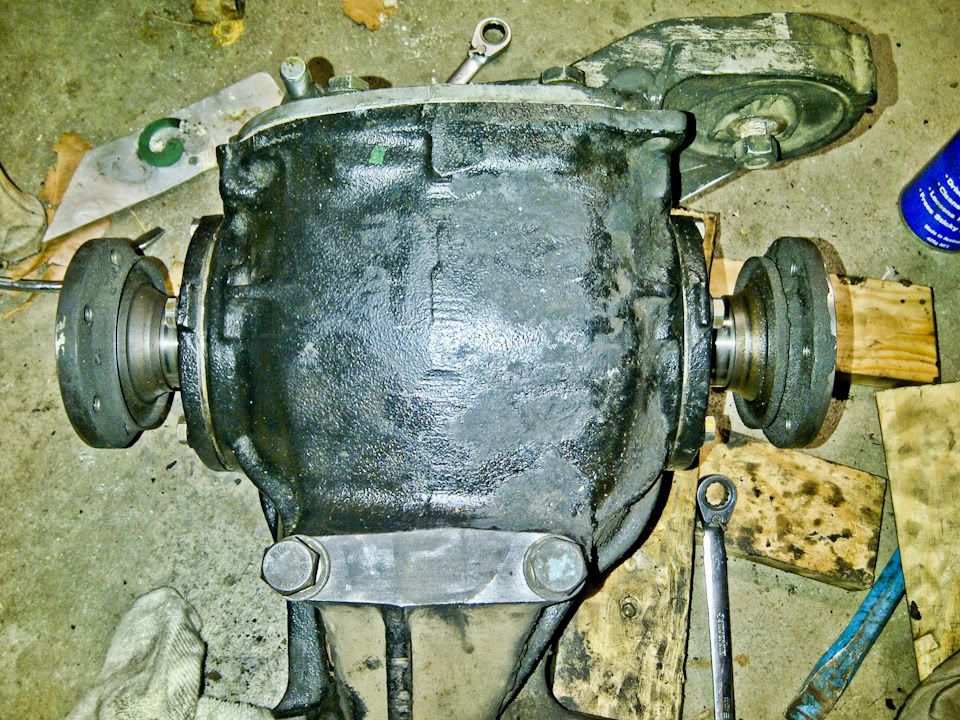
knock it back in with piece of wood and mallet 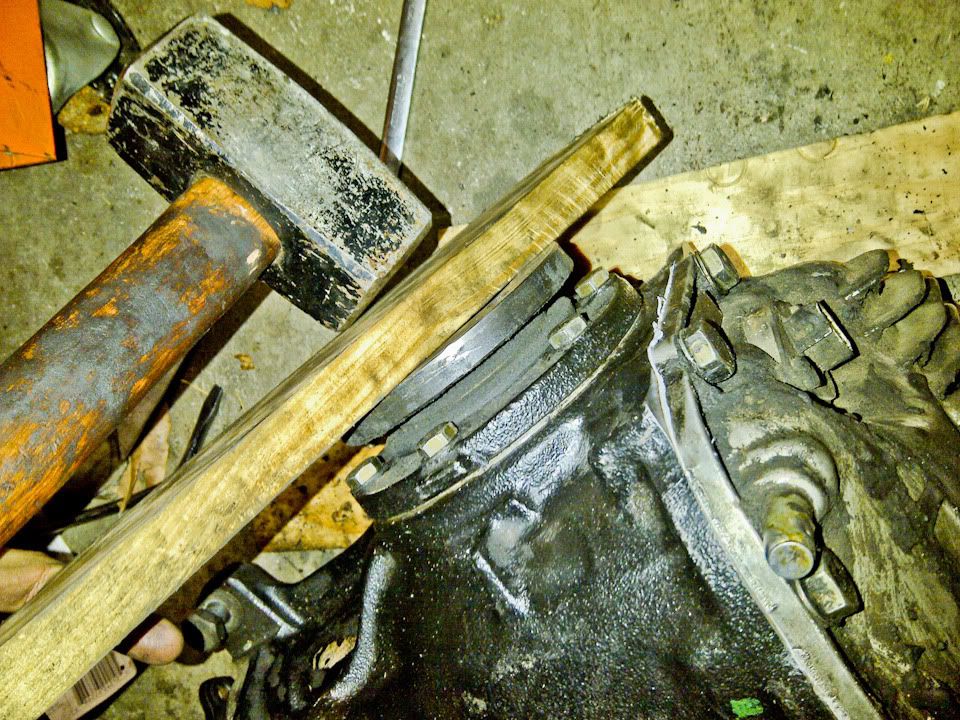
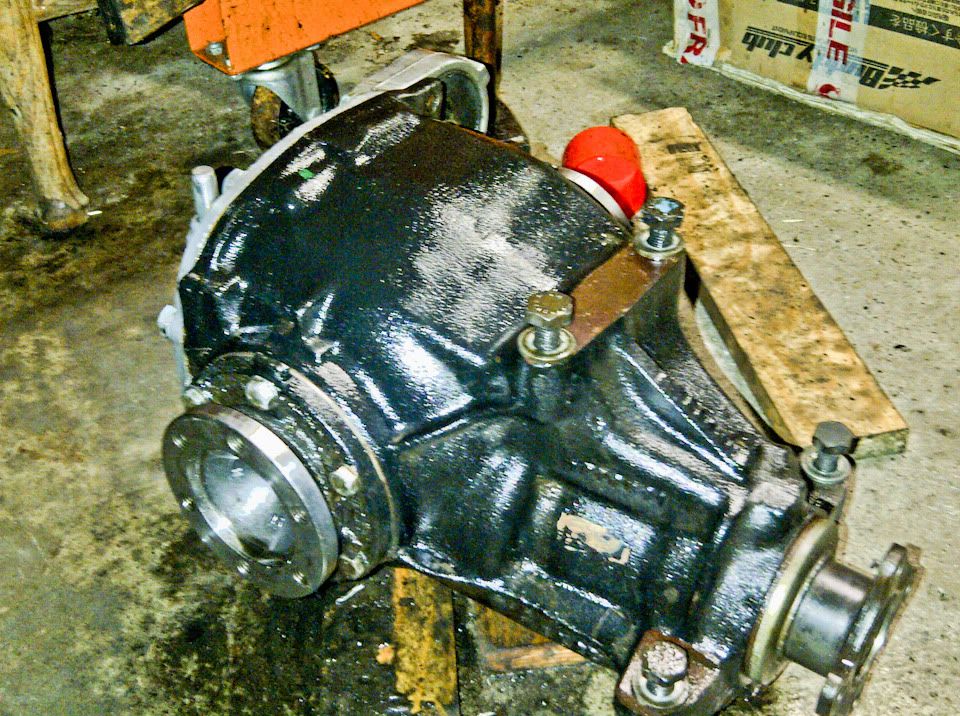
and give it a good clean with degreaser 


WOHOOOOOO!!!! cant wait to put it back up on the car... need 2nd person to help me aim and balance the diff with the jack... will do it tomorrow ![]()
Tuesday, November 15, 2011
LSD part 2 - Torque Up!
![]()
Subscribe to:
Post Comments (Atom)
No comments:
Post a Comment