


Hopeless panel beating
last attempt to bend the front bumper back to shape, and only managed to get total of 4mm... i gave up and will look for replacement front apron / bar
Removing the Differential from the car
1. unbolt the 2 half shaft/output shaft, 6 8mm hex key on each side.


2. unbolt the 4 bolt on the input flange (connected to propeller shaft)


3. use jack to support the body of the diff

4. unbolt 4 main bolt that hold the diff to the rear subframe and 1 bolt that hold the diff to the vertical diff bushing


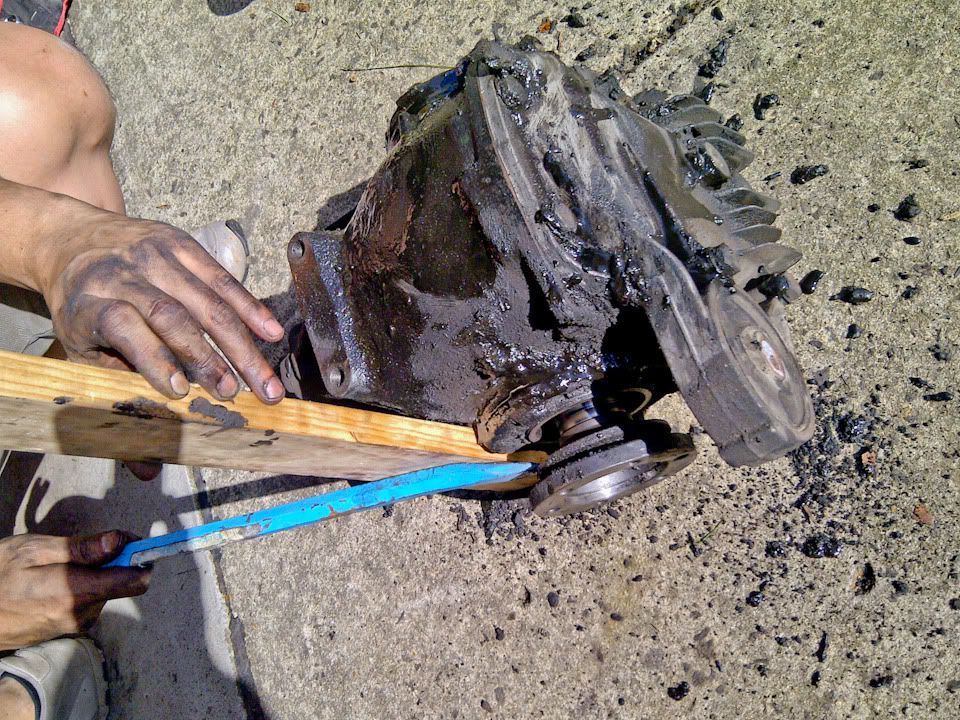
5. carefully lower the jack and make sure the diff resting on it on balanced point... OMFG my diff is really really oil and dirty hahaha


6. quickly clean abit to make it abit bearable

Opening the Diff housing
2. open the side cover bolts. 12 in total, 6 on each side


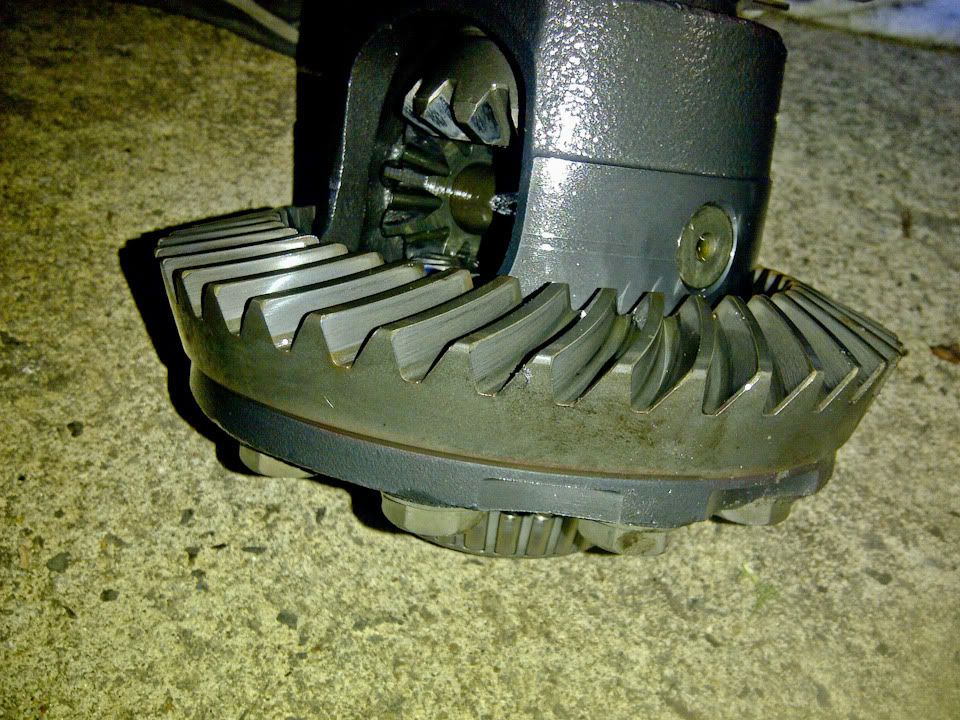
3. open the 8 bolts holding the rear diff cover


4. hello! we can see the open diff unit now...

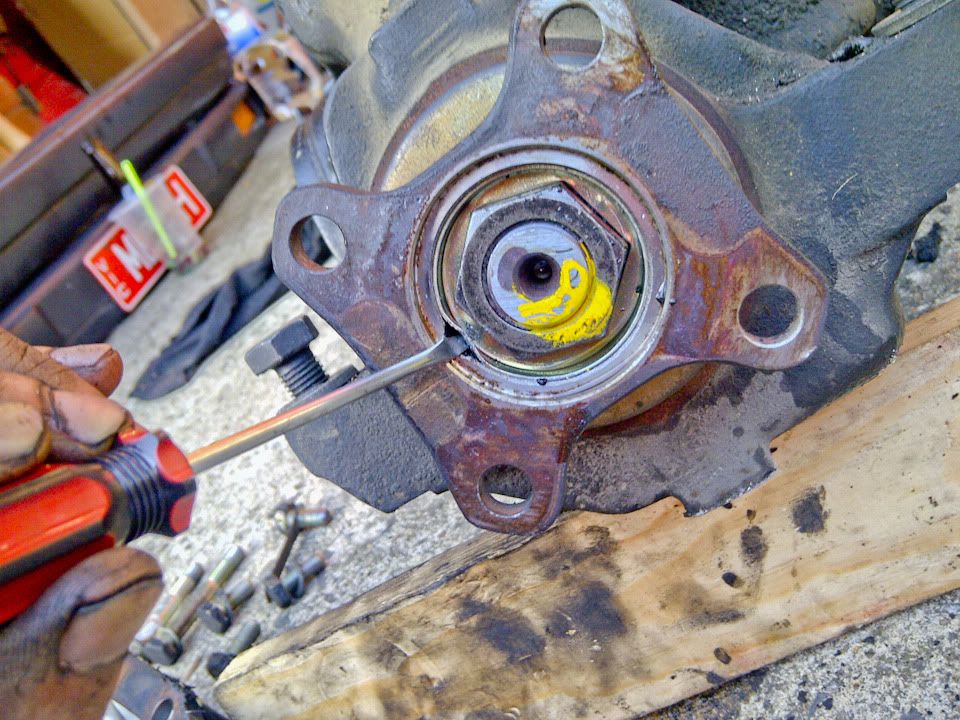
5. we need to prey open the input nuts lock plate. make sure you put mark on the pinion shaft and the locking nut, and measure the amount ot pinion gear protruding from the locking nut... we have to replicate this with the new pinion to save us time from shimming the diff correctly
tried with my tiny long nose pliers and this is why i shouldn't buy cheap tools hahaha
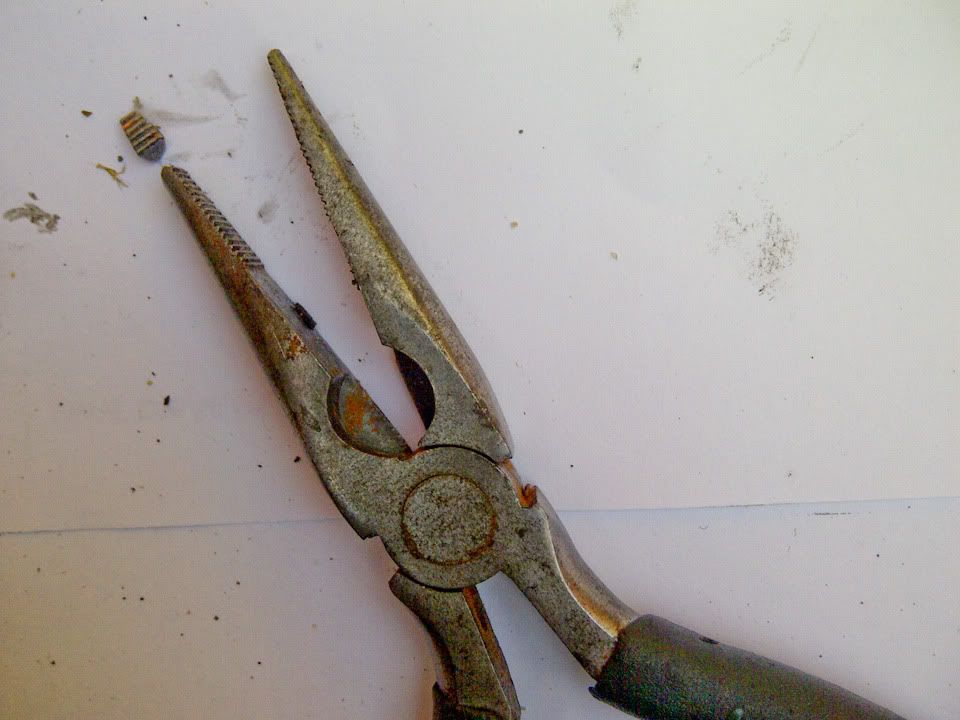
success with flat head screw driver
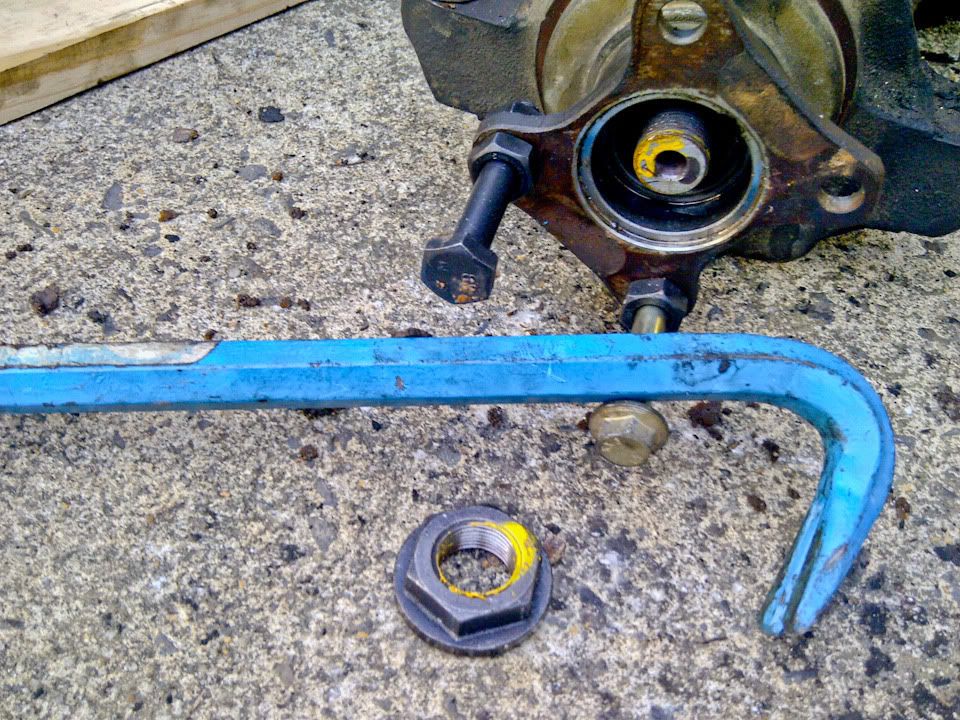
6. keep it somewhere safe as we will need this again on re-assembly

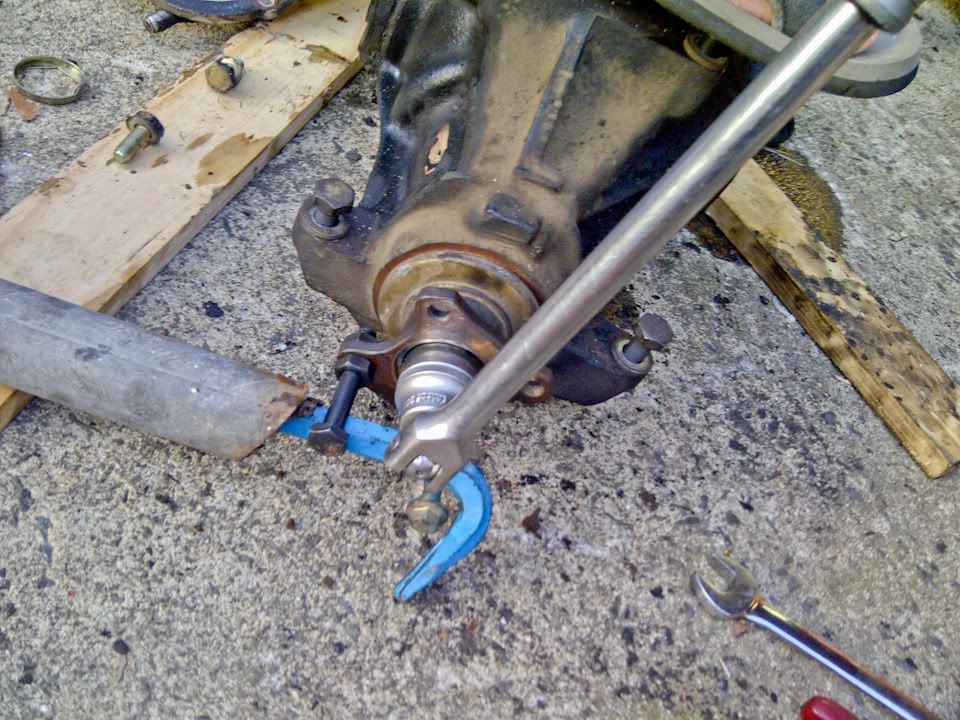
7. put 2 bolt and few nuts on the input flange and jam a crow bar in between to stop it from turning

8. use the thin walled 30mm socket (ATTENTION: My OTHER E30 325i in indonesia uses 32mm bolt, so i think the bolt could varies between country?) to open the input shaft main nut. i refunded the 32mm deep socket that i bought... useless hahaha
9. now need to prey this side cover open with flat head screw drivers


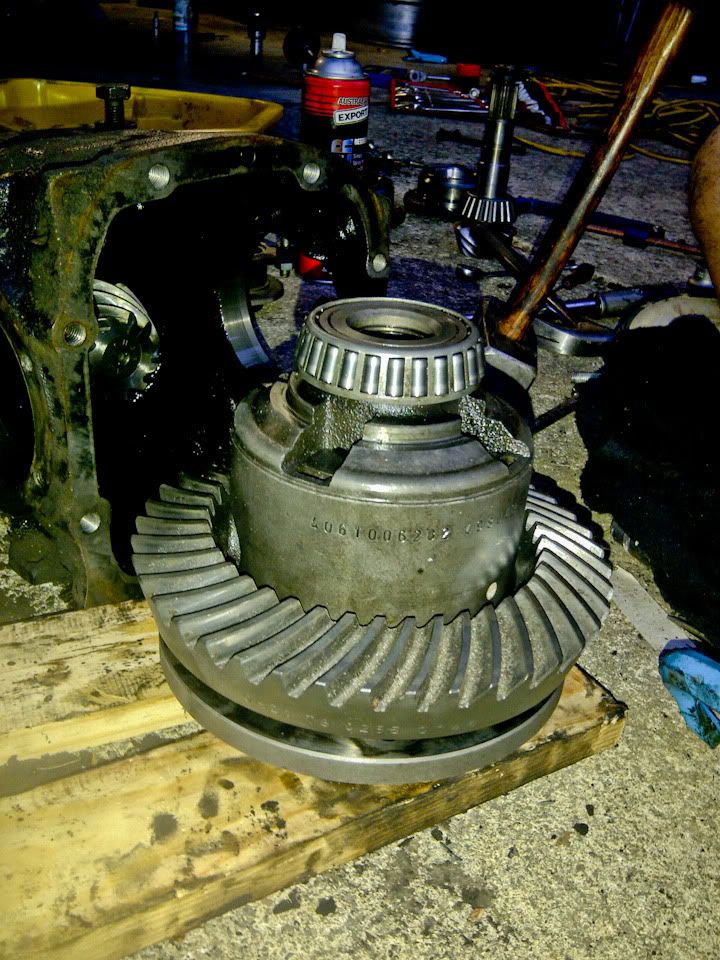
10. once you remove bolt side, you should be able to pull the open diff unit out of the housing... careful, its not only heavy, its slippery


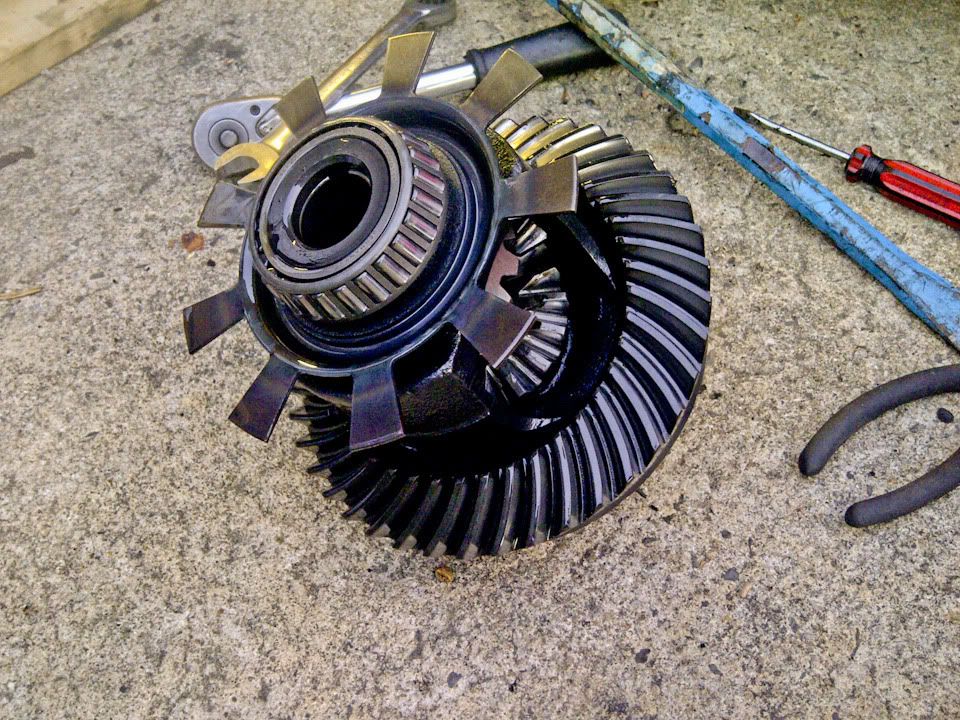
the factory 3.7 final gear condition is still very good
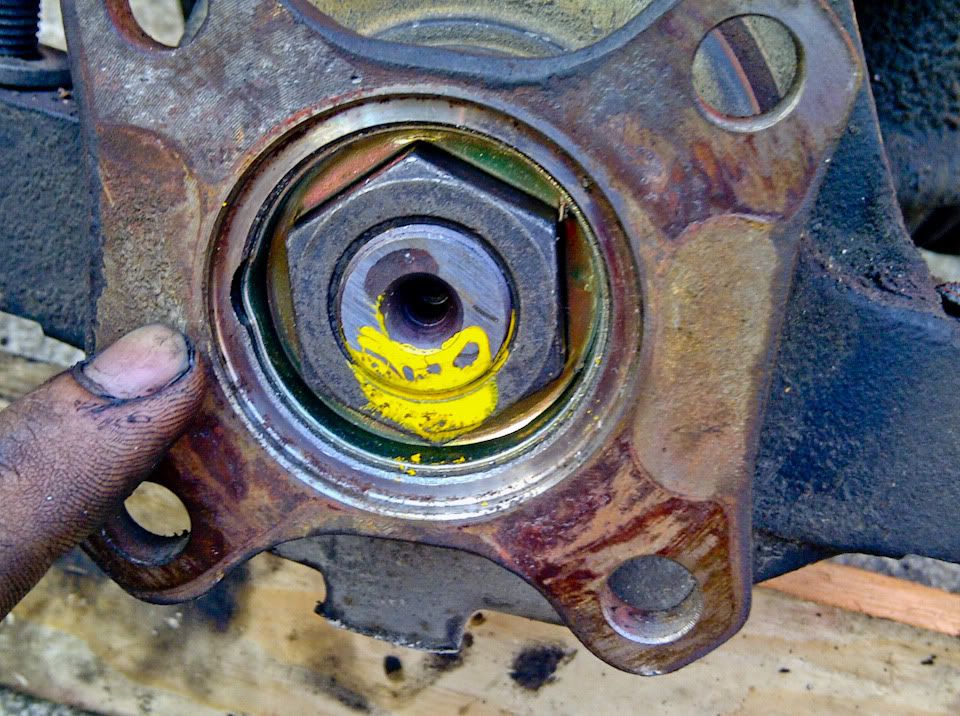
11. now you should be able to see the pinion


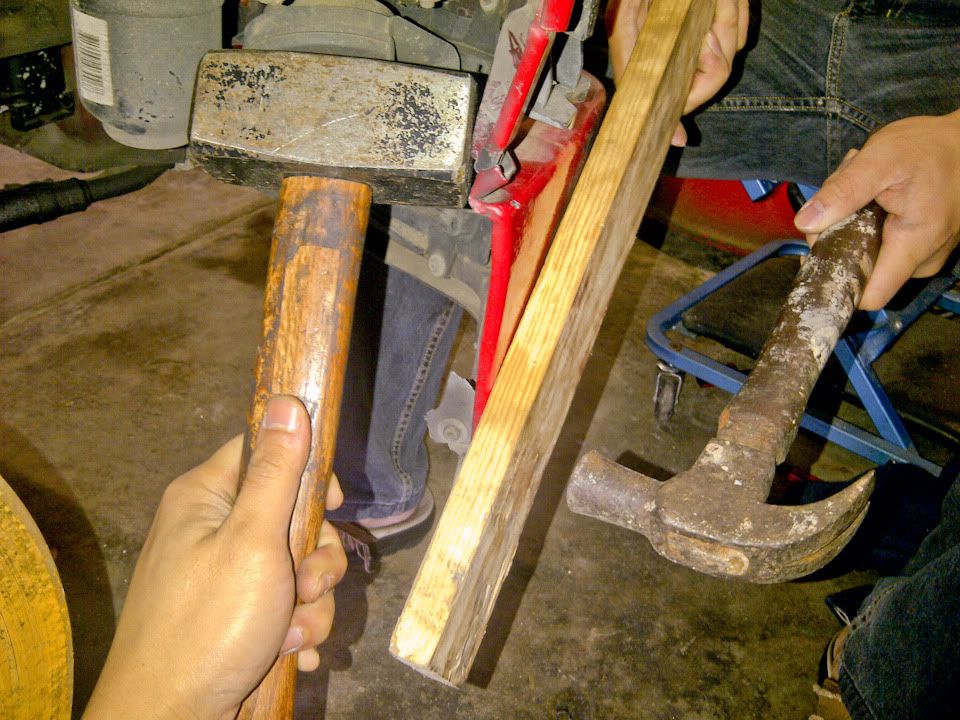
12. tip the diff housing so the input pinion shaft is at the top, put aluminum plate on top and hit it with mallet until the pinion shaft came out from the housing... put wood underneath so the pinion drops on the wood instead of concrete...


13. now the speed sensor ring on the old open diff unit need to be removed coz we need this speed ring installed to the new LSD unit...
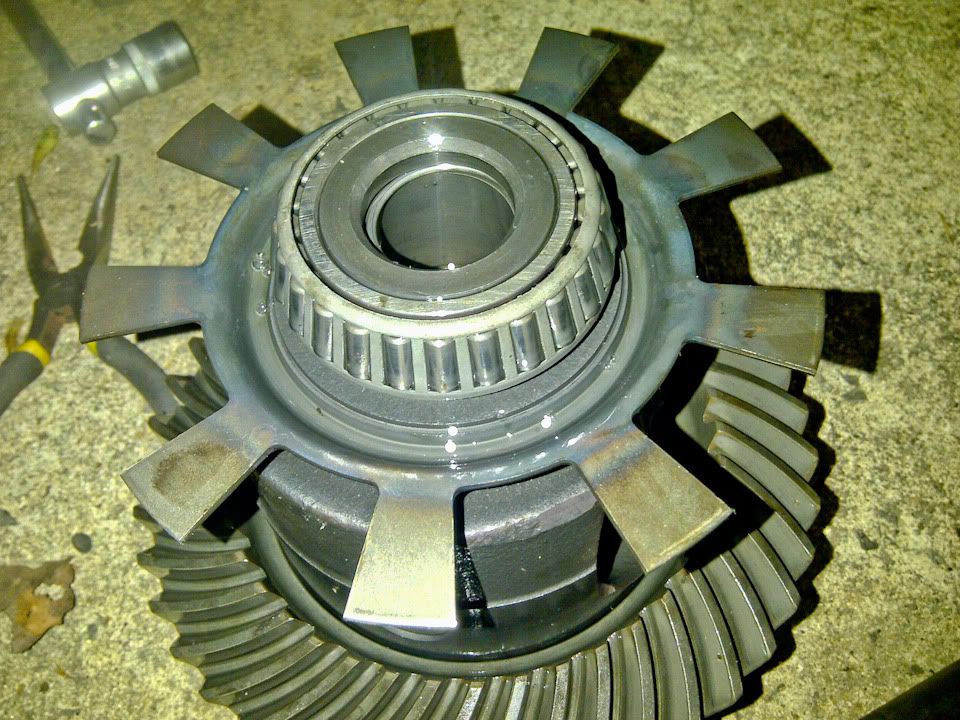
14. this step need patience... i did this slowly and keep rotating and hitting each spot with flat head screw driver evenly as the ring and the diff unit is a very tight fit

you might be able to do it faster but me and lots of WD40 did it in 45minutes of constant light hammering
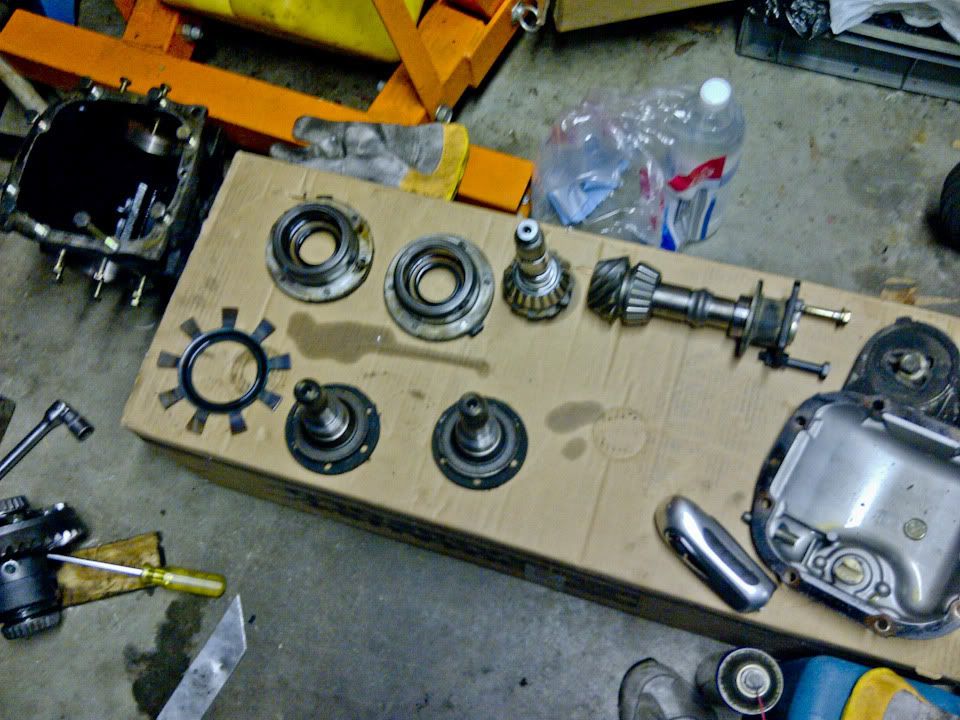
almost done... everything is disassembled, all left is the 10 bolt holding the old 3.7 final drive to the diff unit, but i have no more energy left so i will continue tomorrow... i need to buy medium vise for this task too...
comparison of the LSD and open diff unit

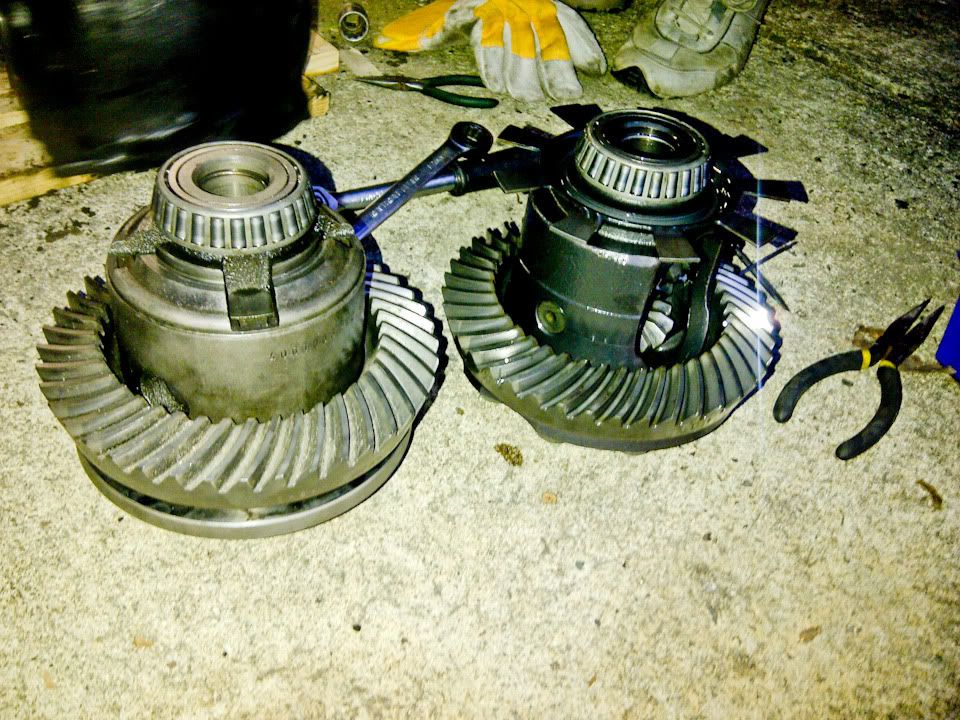
putting the 4.1 final drive into the LSD unit
its very tight fit, hence the gap. will need to pull it closer using the 10 ring bolts which i need to take off from the old open diff unit...
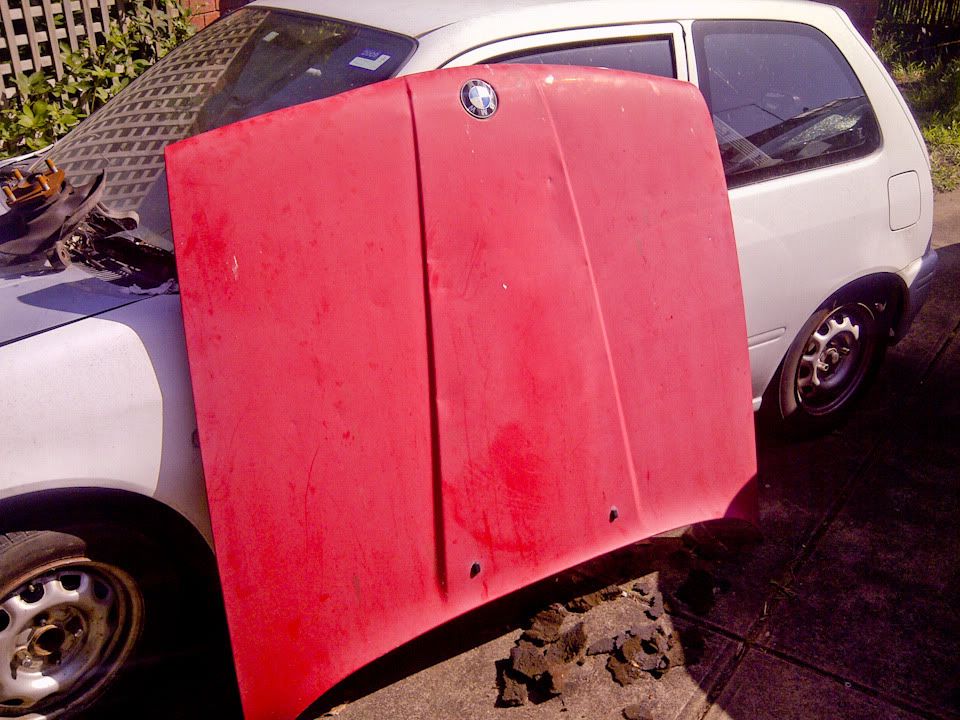
the $15 bonnet which is full of dents, that i got from ebay
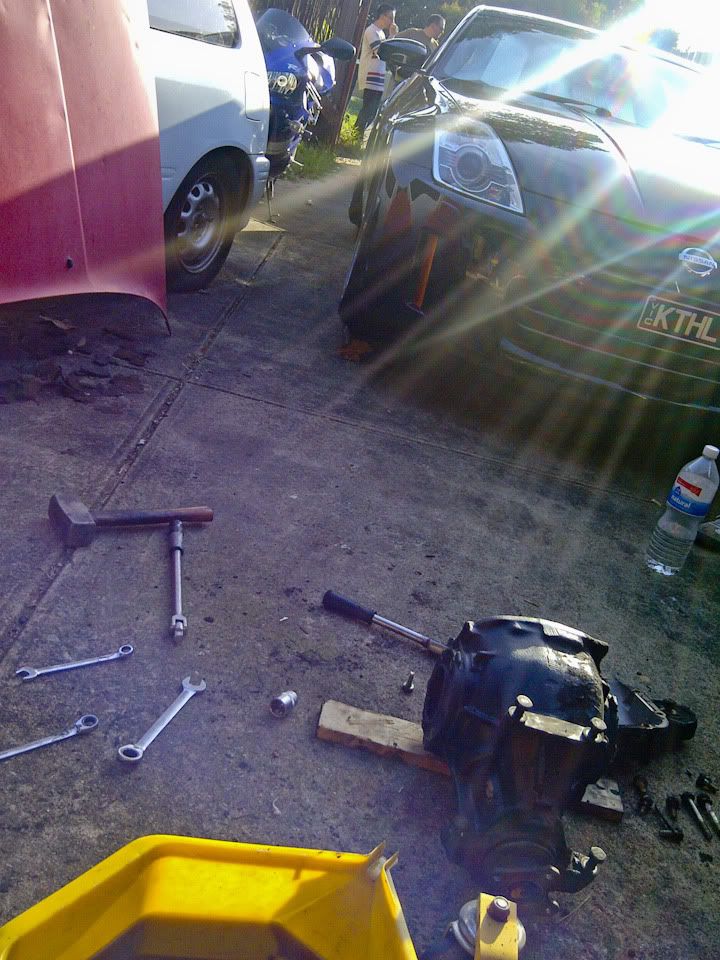
random pics from the whole DIY day... exe-crew came along to help, hang out, work on their cars, etc... thank you for the help, companion and general rowdyness guys


No comments:
Post a Comment