BUDDY CLUB HEADER - PART 1 - total 4 hours
well, i bought this header mid last year from Johnny - on the run (along with the full buddy club spec III lightweight exhaust) when i hit 1:41s first time and i have promised myself not to install it until i hit 1:40s.
turns out, before i even hit 1:40s, i had to revert my car back to stock and planning to sell the car and all parts. but then i ended up hitting 1:40s with stock condition. and i also cannot sell the header for new price got me thinking:
if i cannot sell it with brand new price and had to drop the price, then mind as well i install them, use them and worry about selling them later. besides i have fulfill my promise to myself to hit 1:40 even tho its only 1:40.9 hahaha (shut up!)
so here we go...
Day 1 - sunday 2.30pm - 4pm (1.5hours)
picked up pair of new exhaust manifold gasket from nissan ftgully on friday... 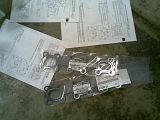
unwrap the header. haha can't wait... here it is along with my old trusty test pipe. ![]() the header still shiny, waiting to be scratch up by my attempt installing it via backyard job... oh dear...
the header still shiny, waiting to be scratch up by my attempt installing it via backyard job... oh dear... 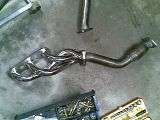
jacked up the car on 2 stands and start working: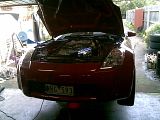
removed engine cover, strut bar, intake box, AFM and intake Pipe, all the harness thats covering the coolant hose like spider web ![]() , and drain the coolant from the radiator (plastic screw under the radiator)
, and drain the coolant from the radiator (plastic screw under the radiator)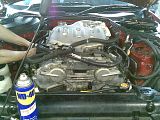
removed Flexible Coolant hoses and vacuum hose... PLENTY OF THEM (T__T) from left bank *thx shaun*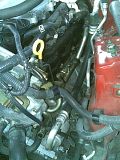
remove more flexible coolant hose from the right bank... i nearly gave up coz one of them stuck real bad, but dan came to the rescue and pull that right off for me ![]()
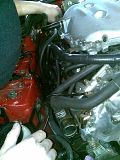
removed Coolant pipe from the right bank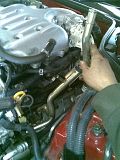
right bank pipes and hoses clear... hello heat shield... 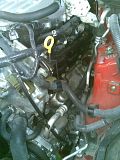
had to leave it for the day coz of urgent matters... sorry shaun... ![]()
Day 1 - sunday 10pm - 10.30pm (0.5hours)
removed the left heat shield... just 4 simple 10mm bolts, BUT bloody hard to reach!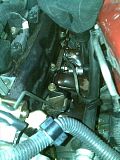
removed Coolant pipe from the left bank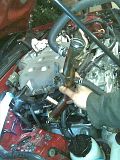
Day 2 - Tuesday 10.30pm - 12.30am (2hours)
removed right heat shield! pain in the ass! not much space between engine and the frame... (T__T) felt like grabbing AK47 and start shooting at my engine bay...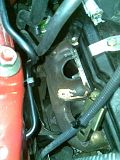
unclip all the 02 sensor... 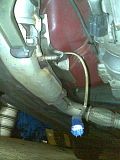
i decided to remove the 02 sensor later when the manifold and cat is off the car coz i got no chance of fitting my adjustable spanner in that tiny space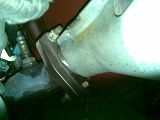
Unbolt the bracket that holding the cats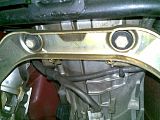
unbolted and remove the left manifold, and pull it from the bottom of the car.... 4 bolts are quite easy to reach. and 2 other bolts are very hard to reach. shaun and me had to use swivel extention. and no we didnt have to remove the AC comp.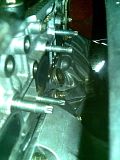
AND FINALLY!!! the exhaust manifold and cat off the car!!! here is the comparison of stock manifold+cat VS B.C. header+test pipe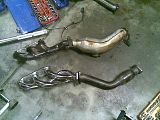

shaun is unbolting the right manifold bolts now. working from the top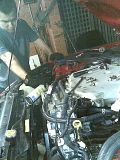
im working under the car, unbolting the other hidden bolts. look how much space i got... the steering pinion is in the way, along with other crap, cross member and wheel well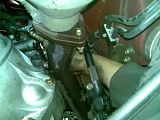
remove the right manifold and slide it thru under the car... careful, theye heavy...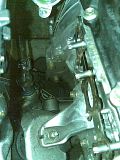
now both manifold off the car!! woohoo...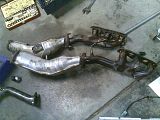
move the O2 sensor from the stock system to the new one... 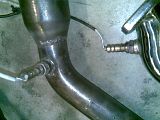
now that looks much better... some space under the hood! 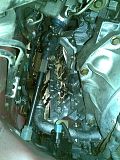
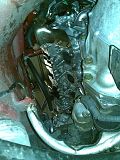
engine bay view minus exhaust manifold, plumbings, and other stuff...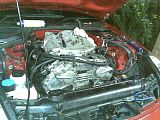
that's it for today... shauns tired... im tired... ![]() sore arms, bloody knuckles and sore back... but its halfway there.... all will be over soon
sore arms, bloody knuckles and sore back... but its halfway there.... all will be over soon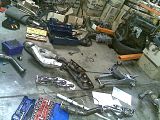
350z wheelie ![]()
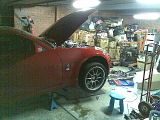
next step would be installation of course... wouldnt want to start the car without header... or would i... ![]()
also will install the catback BuddyClub too...
thx to:
Shaun Senk9: for helping me out and coming over late at night... you make all this went thru so much faster... thx again ![]()
Dan C2888: for the help on sunday, and doing my front yard fighting mud while i was under the car... ![]() sorry and thanks heaps!! its all drying up now!
sorry and thanks heaps!! its all drying up now!
Resource:
350Z workshop manual PDF
Z wiki guide - http://www.350z-tech.com/zwiki/Header_Installation
cardomain guide - http://www.cardomain.com/ride/3106799/4
Wednesday, August 20, 2008
BUDDY CLUB HEADER - PART 1 - total 4 hours
Posted by
Silas
at
8:31 AM
![]()
Labels: MERAH - 350Z
Subscribe to:
Post Comments (Atom)




No comments:
Post a Comment