


bought this set of Rays forged wheel from sydney...
Front
Size: 18x8.0
Offset: +30mm
Weight: 18.19lbs
Rear
Size: 18x8.5
Offset: +33mm
Weight: 18.62lbs
they are factory option from nissan... i bought it secondhand... still in good nick tho... 
on the car... 

Thursday, June 14, 2007
Nissan 18x8 Rays Forged! :P
Tuesday, June 12, 2007
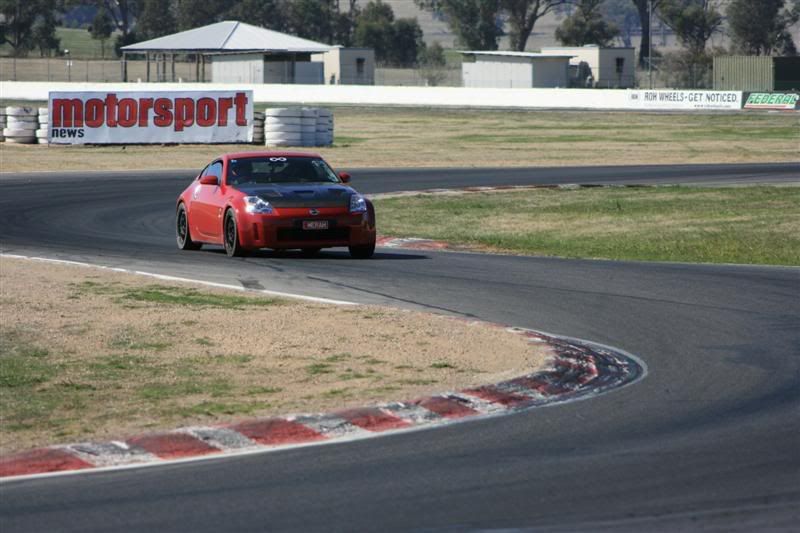
first time @ WAKEFIELD NSW - 1:12s
QUICK UPDATE
need to sleep soon... just got back from NSW... my butt is square now from sitting too long on that damn bucket seat...
Wakefield Track
PB: 1:12.4s
mod: 245/45/18 RE55s, RSR spring, APS catback, Megan Racepipe, K&N Panel filter (my pod filter is dirty... cbf cleaning lol), project Mu pads and RBF600 brakefluid...
first time there... still very2 messy... hope i can go back next time... what a fun track... i miss it already...
i need new front brake rotor soon (ToT)
UPSKIRT!!!! (ToT)
UPSKIRT!!!! (ToT)
finally it happened to me... (T_T) i was gonna put the bonnet pin after the bumper is done...
was on the way to pick up my new bumper from the paint shop my carbon fiber bonnet flaps open while i was driving... it hit my roof, broke the hinges, damaged the side guards and cracked the bonnet... (T_T) such bad luck... i better win some lotto after this...


ESPRIT BUMPER
not painted final yet, the colour not 100% match... will respray after trackday.
please dont mind the opened CF bonnet (ToT) photo was taken before i fix it....
Return to the Red
well... for now i returned the bonnet to stock one... and i've installed new hinges and bent back the left and right guard... thx to kenny and shaun.


EXE TRACKDAY - 1:41.4s still cant beat old PB :(
UPDATE:
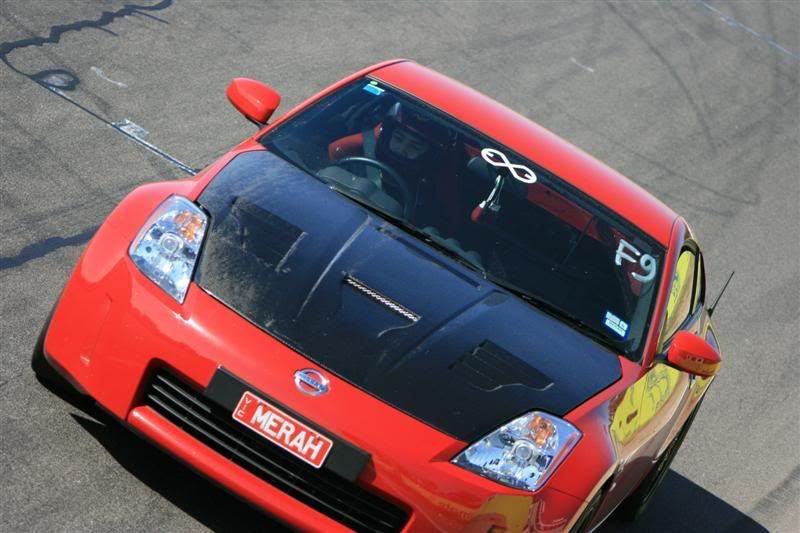
Lap Record for: Silas B. Andrianto - [MERAH] AKA Flameboy
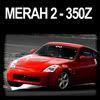
350Z track -
wheels + tyres: Front - 225/45/17 Dunlop Formula R, Back - 235/45/17 RE55s, BBS 17x8 +30
performance mods: APS catback, Megan race pipe, 37kg weight reduction
brake: RBF600, Project Mu HC+
other: DIY oil cooler
i also put 1mm toe out at the front and 4mm overall toe in at the back... just testing...
at the beginning of the day, the car feel really shit and it understeer everywhere... then i figure running 38 front and back (cold) wouldnt work coz i think the RE55 at the back has more grip than the dunlop at the front...
so i keep reducing the front pressure until 30psi warm, and i was happy with that... its starting to grip like i want it on the 4th session...
the 5th session i was out trying to drift i think... lol... but it was more like a bush bashing... and i heard something pop! then i decided to stop... cant do it... better luck next time...
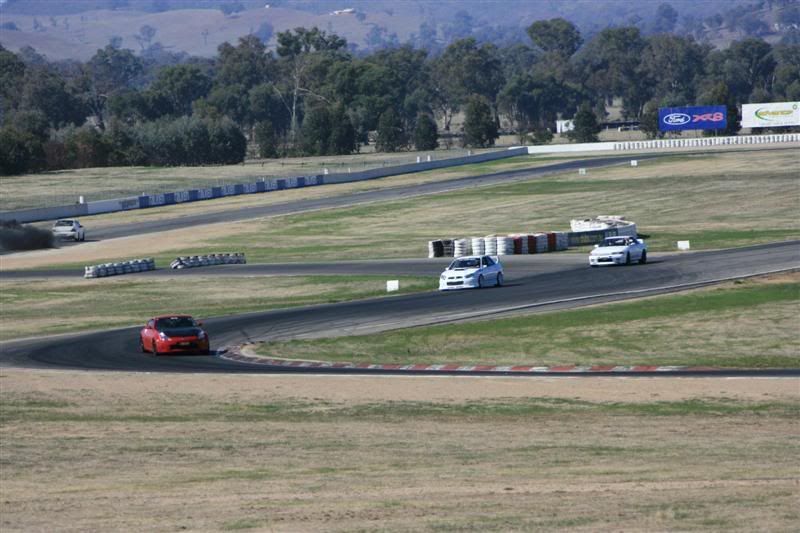
then on the last session... the individual session, i'm getting really worried, i was following johnny (he was driving scott's EVO) and i can hear this same wobble sound like last time... pulsing annoying hitting wobbling sound... last time was only at the back... and now is at the back and front... i ignore it... when i came back to the pit after 3 laps, that sound turned out to be the loose rear left wheels and front right wheels!!! both of them only have 1 nuts left holding it, the other 4 nearly fall off... ![]()
so i was very lucky... i torque the wheels nut on 80Nm... probably its not enough... i will do 85 or 90 next time...
but yeah, now with spring, cooler weather and no improvement in the time.... ![]() feel stupid... but ah well, better luck next time...
feel stupid... but ah well, better luck next time...
Winton 3KM
-----------------
16/04/2007: 1:41.4970 sec (still cant beat my old PB ![]() )
)
11/03/2007: 1:41.3410 sec *PB*
26/01/2007: 1:42.2420 sec
11/12/2006: 1:43.9470 sec
here is the stats of my laps on the day:
Overall results: http://www.natsoft.com.au/cgi-bin/results.cgi?16/04/2007.WIN.P1
Individual lap times: http://www.natsoft.com.au/cgi-bin/results.cgi?16/04/2007.WIN.P1.I
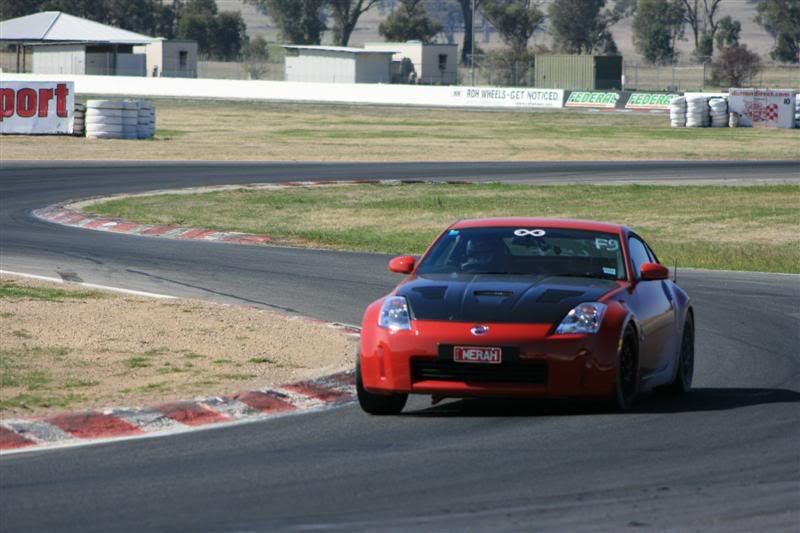
and some photos of MERAH:


others photos on the trackday can be found here! http://www.exe-crew.com/forum/viewtopic.php?t=1507
video compilation by shaun!!!
Group F compilation
Link
Group A-E compilation (funny ending)
Link
DIY RSR Titanium Spring Installation
DIY Spring Installation
bought the lowered spring RS-R Ti2000 just few days before the trackday... ![]()
spec:
Design: Linear
F Drop: 15mm (.6in)
R Drop: 15mm (.6in)
F Stiffness: 6.2kg/mm (345lb) (+10%)
R Stiffness: 7.5kg/mm (417lb) (+22%)
Stiffness transfer: 12% to Rear
Notes: Ti2000 is titanium spring. its really light compared to the OEM spring or the RS-R basic...
i like this spring coz it doesnt drop the car too low... im scraping everywhere already with stock spring...
- jack up the car, sit it on four jack stand...

- remove the wheels
- start from the easiest one... rear spring... 350z has multi link setup at rear so i dont need to remove the suspension...

remove the bolt holding the arm (jack up the suspension arm abit to release the tension so that you wont strip the bolt), and press the arm down using a metal bar or something like that (towards the red arrow direction... )
 - you should have enough space to remover the spring from the 'pocket'... take of the rubber top cone and fit in on the new spring. fit in in reverse order and torque the bolt back to the manufacturer specs
- now the front suspension removal

use to ratchet to unbolt the main arm bolt (the bolt that connect the suspension and the main control arm). jack up the bottom of the arm abit to release the tension (preventing you stripping the bolt)
- detached the brake line from the suspension

- detached the speed sensor from the suspension

- remove the swaybar link bolts from the suspension arm (its the one next to the suspension bolt)

use rubber mallet to knock the bolt out, should be easy... if its stuck, dont push it... try jacking up the suspension arm to release the tension... - now... if you dont want to use spring compressor to remove the suspension, you can do what i did... i remove the 'A' arm link...
first remove the safety clip... (its bent, so straighten it and pull it out...)

then just unbolt it normally...
- remove the sturt mount top bolts... 3 of them... careful not to strip them *look at shaun (-_-)*

- now you can press the whole lower suspension arms down by holding to the 'A' arm connector... pres it down firmly and the strut should have enough space to come out... careful not get tangled with the brake line...

- now that the suspension off, if you have spring compressor, compress the spring and the remove the top bolts on... remember to mark the top and bottom position so it can be installed back easily...

i didnt have spring compressor, so i bring it to PROTEK tyres for them to swap the spring for me... they made it look so easy... - anyway, install in reverse order... i cbf writing anymore


DIY CUSTOM OIL COOLER - PART 2
DIY CUSTOM OIL COOLER - PART 2
continue from the PART 1: http://silasba.blogspot.com/2006/10/diy-custom-oil-cooler-part-1.html

its pretty straight forward...
DIY Oil Cooler
this is where i mount mine... thx for shaun for painting it black... its more subtle... i like ![]()


this it the L bracket for it


the sandwich plate + filter + hose connector
more pics of how i set it up...


Subscribe to:
Posts (Atom)