DIY cooling plate - 1st PART
1. cardboard + scissor + the car
2. it will take time, but slowly reduce the cardboard sizes close to the shape of the front engine bay.... it will help to decide which part you want to cover 1st....
3. refined the shape by giving enough space on any corners. pay attention to detail like the hood stand clip, plastic buldge
4. create a hole in the middle for hood latch and the release. start with a small hole and then make it bigger bit by bit as you need it. do not make the holes too big, just enough for the locking mechanism to be able to move freely. keep trying the release mechanism to ensure enough room for it to operate without hitting your cardboard.
5. remove the bumper clips (it will be used for holding the plate), positioned the cardboard on a correct position. punch a hole with a screw driver thru the bumper clip's holes and press it around the hole edges so it shaped a similar size with the original hole.
6. the phase 1 of the cooling plate is finish. now i just have to buy the alluminum plates and cut it to this cardboard shape.
Wednesday, October 11, 2006
DIY cooling plate - PART 1


Stage1 weight reduction
Stage1 weight reduction
all this plastic, rubber, spare tyres and metal tools is off the car!
nissan interior plastic is so hard to take off as the plastic is abit stiff and had far too many clips... lucky i didnt broke any....
total weight saved:
Part 1 - 9.4kg


Part 2 - 22.5kg


Part 3 - 5.3kg


------------------------------------
total: part 1 + 2 + 3 = 9.4 + 22.5 + 5.3 = 37.2kg reduced
after 2 hours here it is....


Thursday, September 21, 2006
2nd hand wheels for track day
ok... trackday is coming.... and i dont think i can afford 18inch semislicks for trackday.... so i decided to look for 17 wheels...
came across this secondhand FORGED lightweight BBS 17x8 offset +30 with 235/45/17... i dont like the look of it.... but i guess its good enough for the track wheels... i dont really care since these are very very light...
im planning to powdercoat it in the future when i have some extra $$... so here is the photoshopped image of the options....
stock silver, gunmetagold, or bronze (my fave... coz i like gold and i like gunmetal.... and this is like abit of both.... the best of both worlds kinda thing... hehehe):


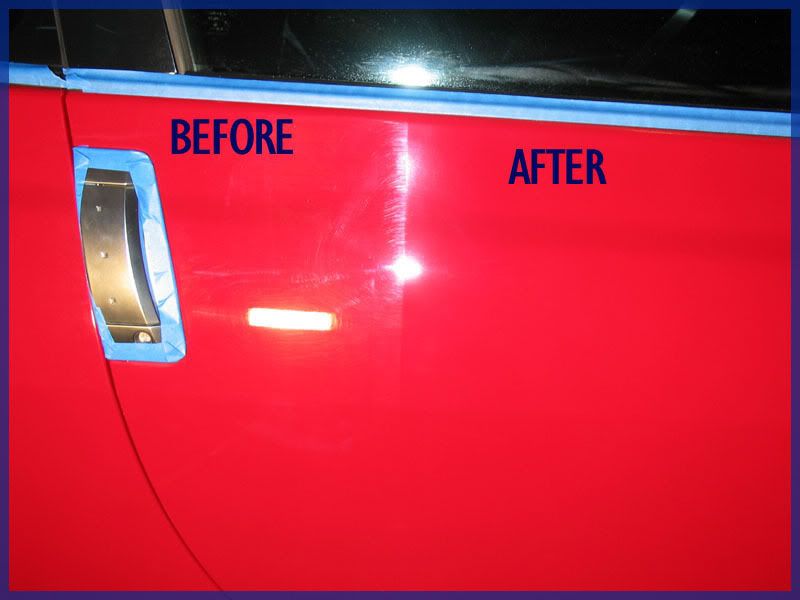
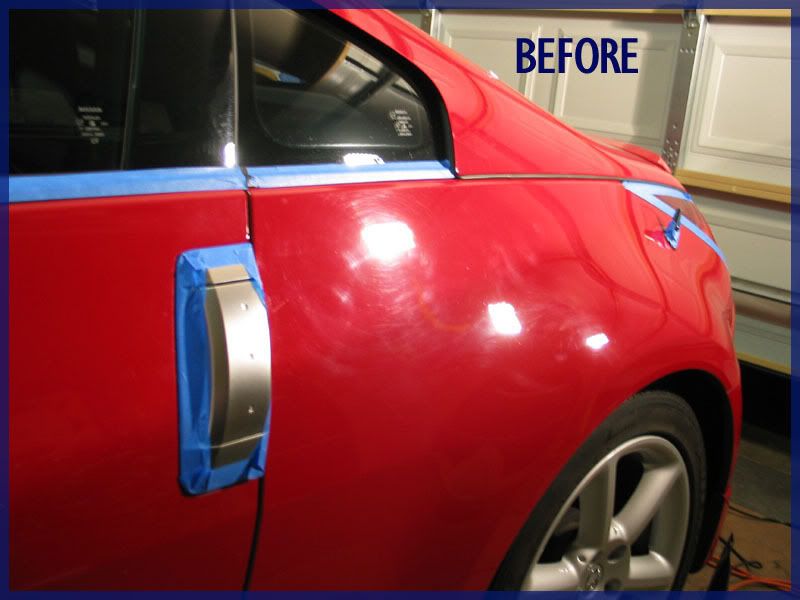
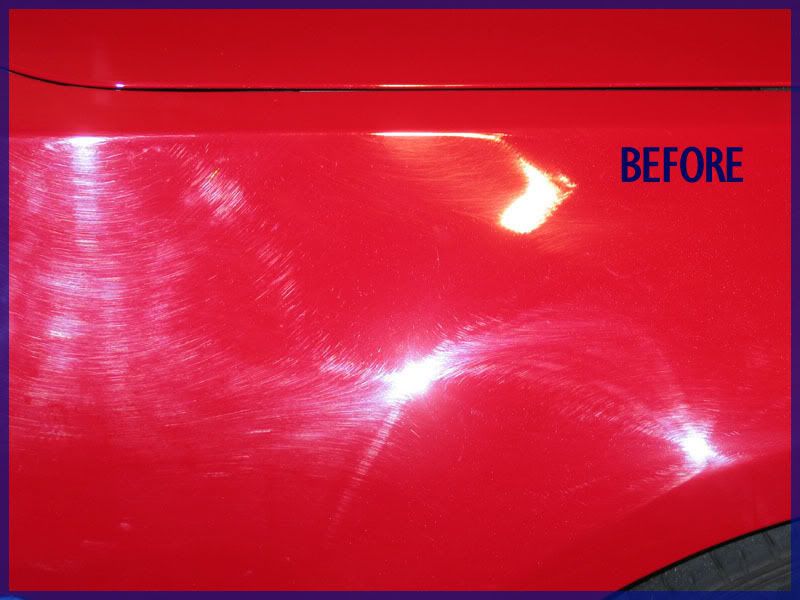
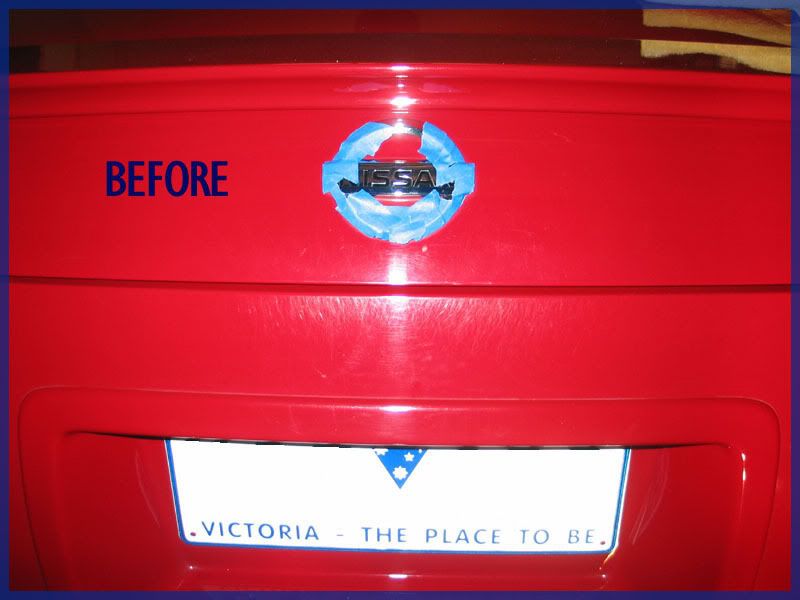
Swirl Removal! 12hours job... :o
Detailed the car.... done by Chompies...
i reckon the previous owner using sandpaper to wash the car... 
so i decided to bring my car to Chompies to make it look like a hot original glazed krispie kreme.... yummmm...
the swirl marks was sooo bad that it took chompies 13 hours to finish and he had to gone thru the whole car 4 times...
here we go....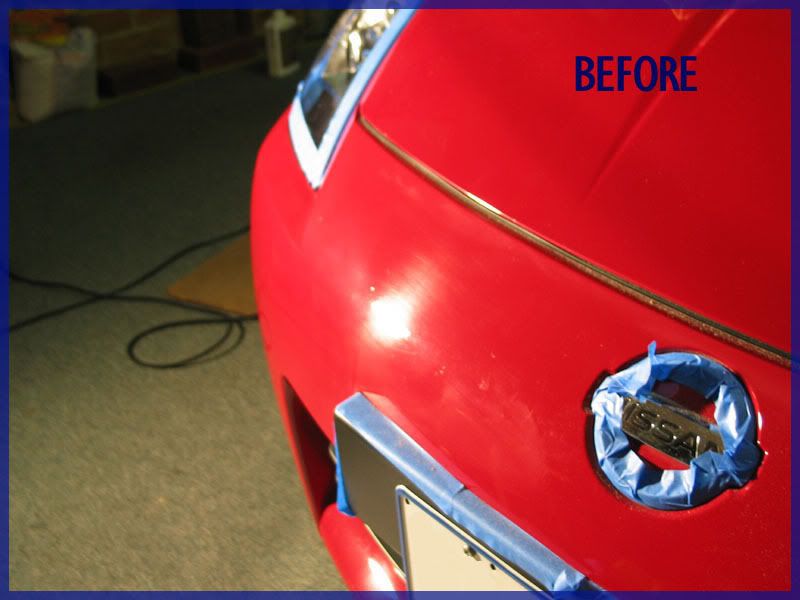
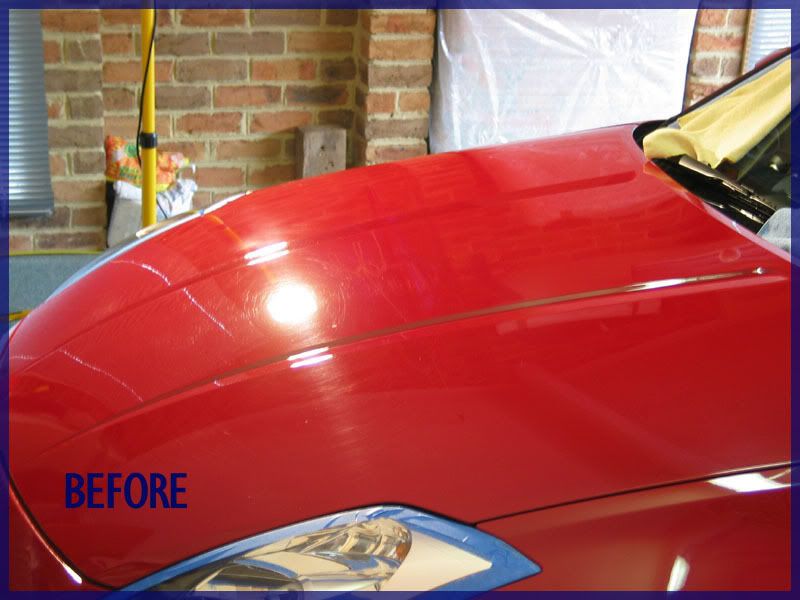
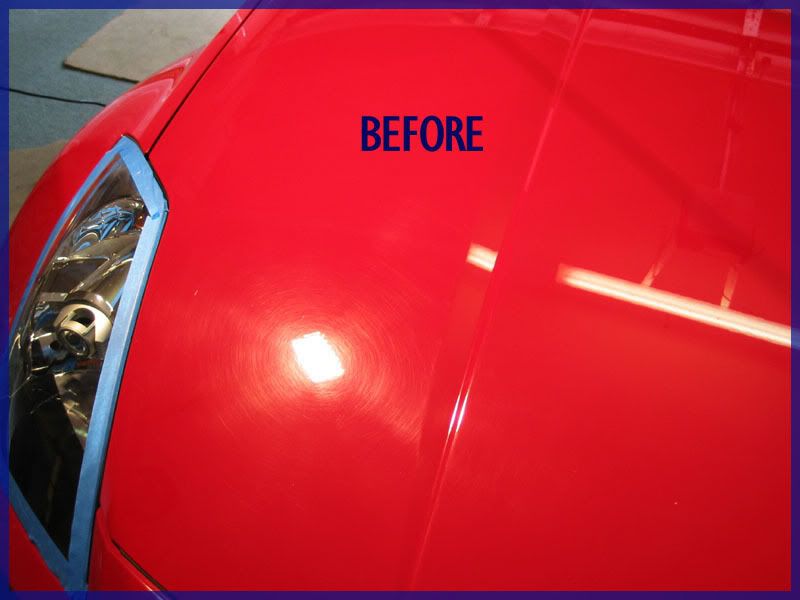
-----
and this is the 'after' shot... thx heaps chompies! what a magic job....


once again.... thank you for doing this... that the swirls were very very bad and deep.... im sorry u had to go thru it 4 times.... (2 yellow, 1 blue, 1 white)...
but the result is amazing.... check it again today, no swirls whats so ever.... no haze too... thx chomp! ur the best... ^_^